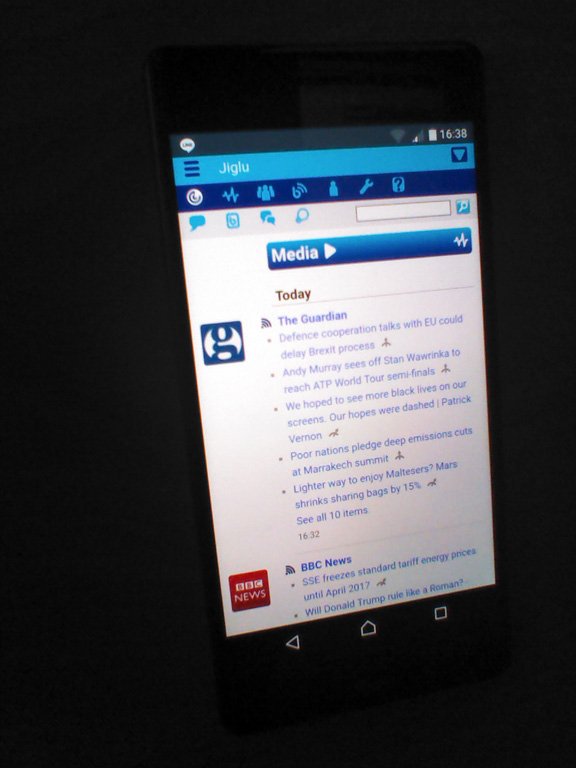
Often when writing a blog post or knowledge entry you will want to add a photo or chart to illustrate a point or break up long text. Here's an example:

These are the steps you need to take to do this:
- Give your post or entry a subject and write the initial text.
- In the Attached files section of the form, choose Browse files and select the image that you want to use from your computer or device. Alternatively you can drag and drop images onto the form.
- Wait for the image to upload - once ready its details will be listed in the Attached files section.
- Click in the text where you want the image to appear and choose the image button from the editor toolbar. This is on the second row of buttons, second from the right.
- In the dialog that appears, click on Image list and select the image that you want to insert. You can also give it a description if you want. When you select Ok it will be inserted in the page at the current cursor position.
If you upload an image but don't insert it into the text then it will instead be shown in a gallery of thumbnails underneath the post or entry.
You can also use images from other web sites by entering their URL in the insert image dialog instead of choosing an uploaded image. However, this may be subject to security restrictions preventing embedding of external content.
1.0.0
How to add inline images to contributions.